| Key Pointer |
|---|
| • WooCommerce calculates sales tax at checkout with correct setup |
| • The WooCommerce Tax plugin uses Jetpack backend for rate lookup |
| • No filing, remittance, or Nexus tracking is included natively |
| • Economic Nexus thresholds vary by state; most start at $100,000 annually |
| • Exemption certificates require separate management outside WooCommerce |
| • Manual tax rates do not update automatically as tax regulations change |
| • Galvix connects to WooCommerce and handles full compliance end-to-end |
WooCommerce Tax, formerly known as WooCommerce Shipping and Tax, handles sales tax rate calculation at checkout pages based on the customer shipping address at the time of purchase. That is where the platform's native compliance capability ends. Filing, Nexus monitoring, state registration, and exemption certificate management sit entirely outside what any native WooCommerce tool provides, regardless of how the WooCommerce tax plugin is configured.
For a single-state seller with simple product taxability, the native WooCommerce tax setup is workable in the early stages of the business. For a WooCommerce store that crosses economic Nexus thresholds in multiple states or sells through additional channels alongside WooCommerce, the compliance workload the platform leaves with the seller compounds with each new market entered.
This blog covers how WooCommerce sales tax works, what it cannot handle, and how Galvix removes the entire compliance burden from your team so your store can grow without compliance risk accumulating in the background.

Does WooCommerce Calculate Sales Tax Automatically?
Yes, WooCommerce can calculate tax at checkout after taxes are enabled and rates are configured. Store owners can enter rates manually or use the official WooCommerce Tax extension. Without one of these two setups active in the WordPress dashboard, no sales tax is collected on any order, regardless of the buyer's location.
WooCommerce Built-In Tax Settings and What They Cover
WooCommerce's native tax settings give store owners control over how sales tax is calculated and displayed across the WooCommerce site. It covers both product prices and shipping costs at the line item level.
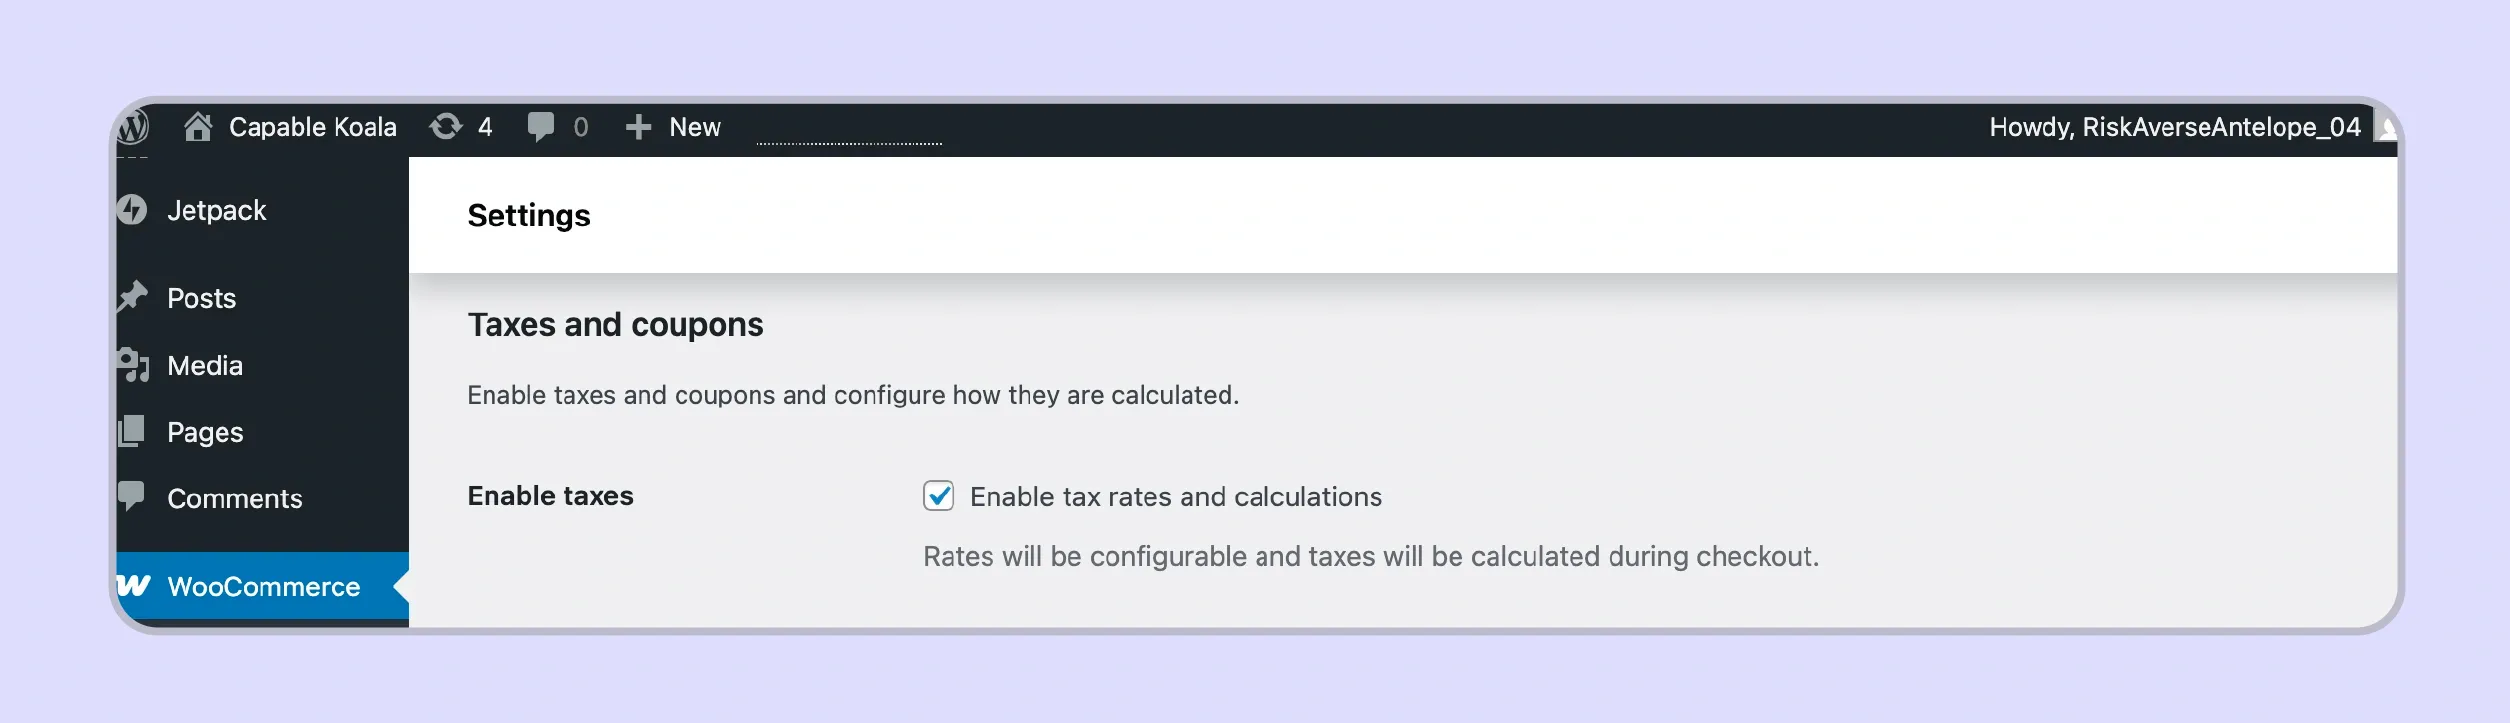
- ‘Enable taxes’ option must be activated under WooCommerce Settings before any tax rate configuration or calculation can occur at checkout pages in the store.
- Rates are entered manually by state code, postcode, city, and country; they do not update automatically when tax regulations change in any jurisdiction.
- The standard tax rate setup calculates sales tax per line item based on the customer's shipping address at the time of purchase for destination-based states.
- WooCommerce Tax uses Jetpack's backend to automate sales tax rates lookup. Though it does not support high-risk WooCommerce store product categories.
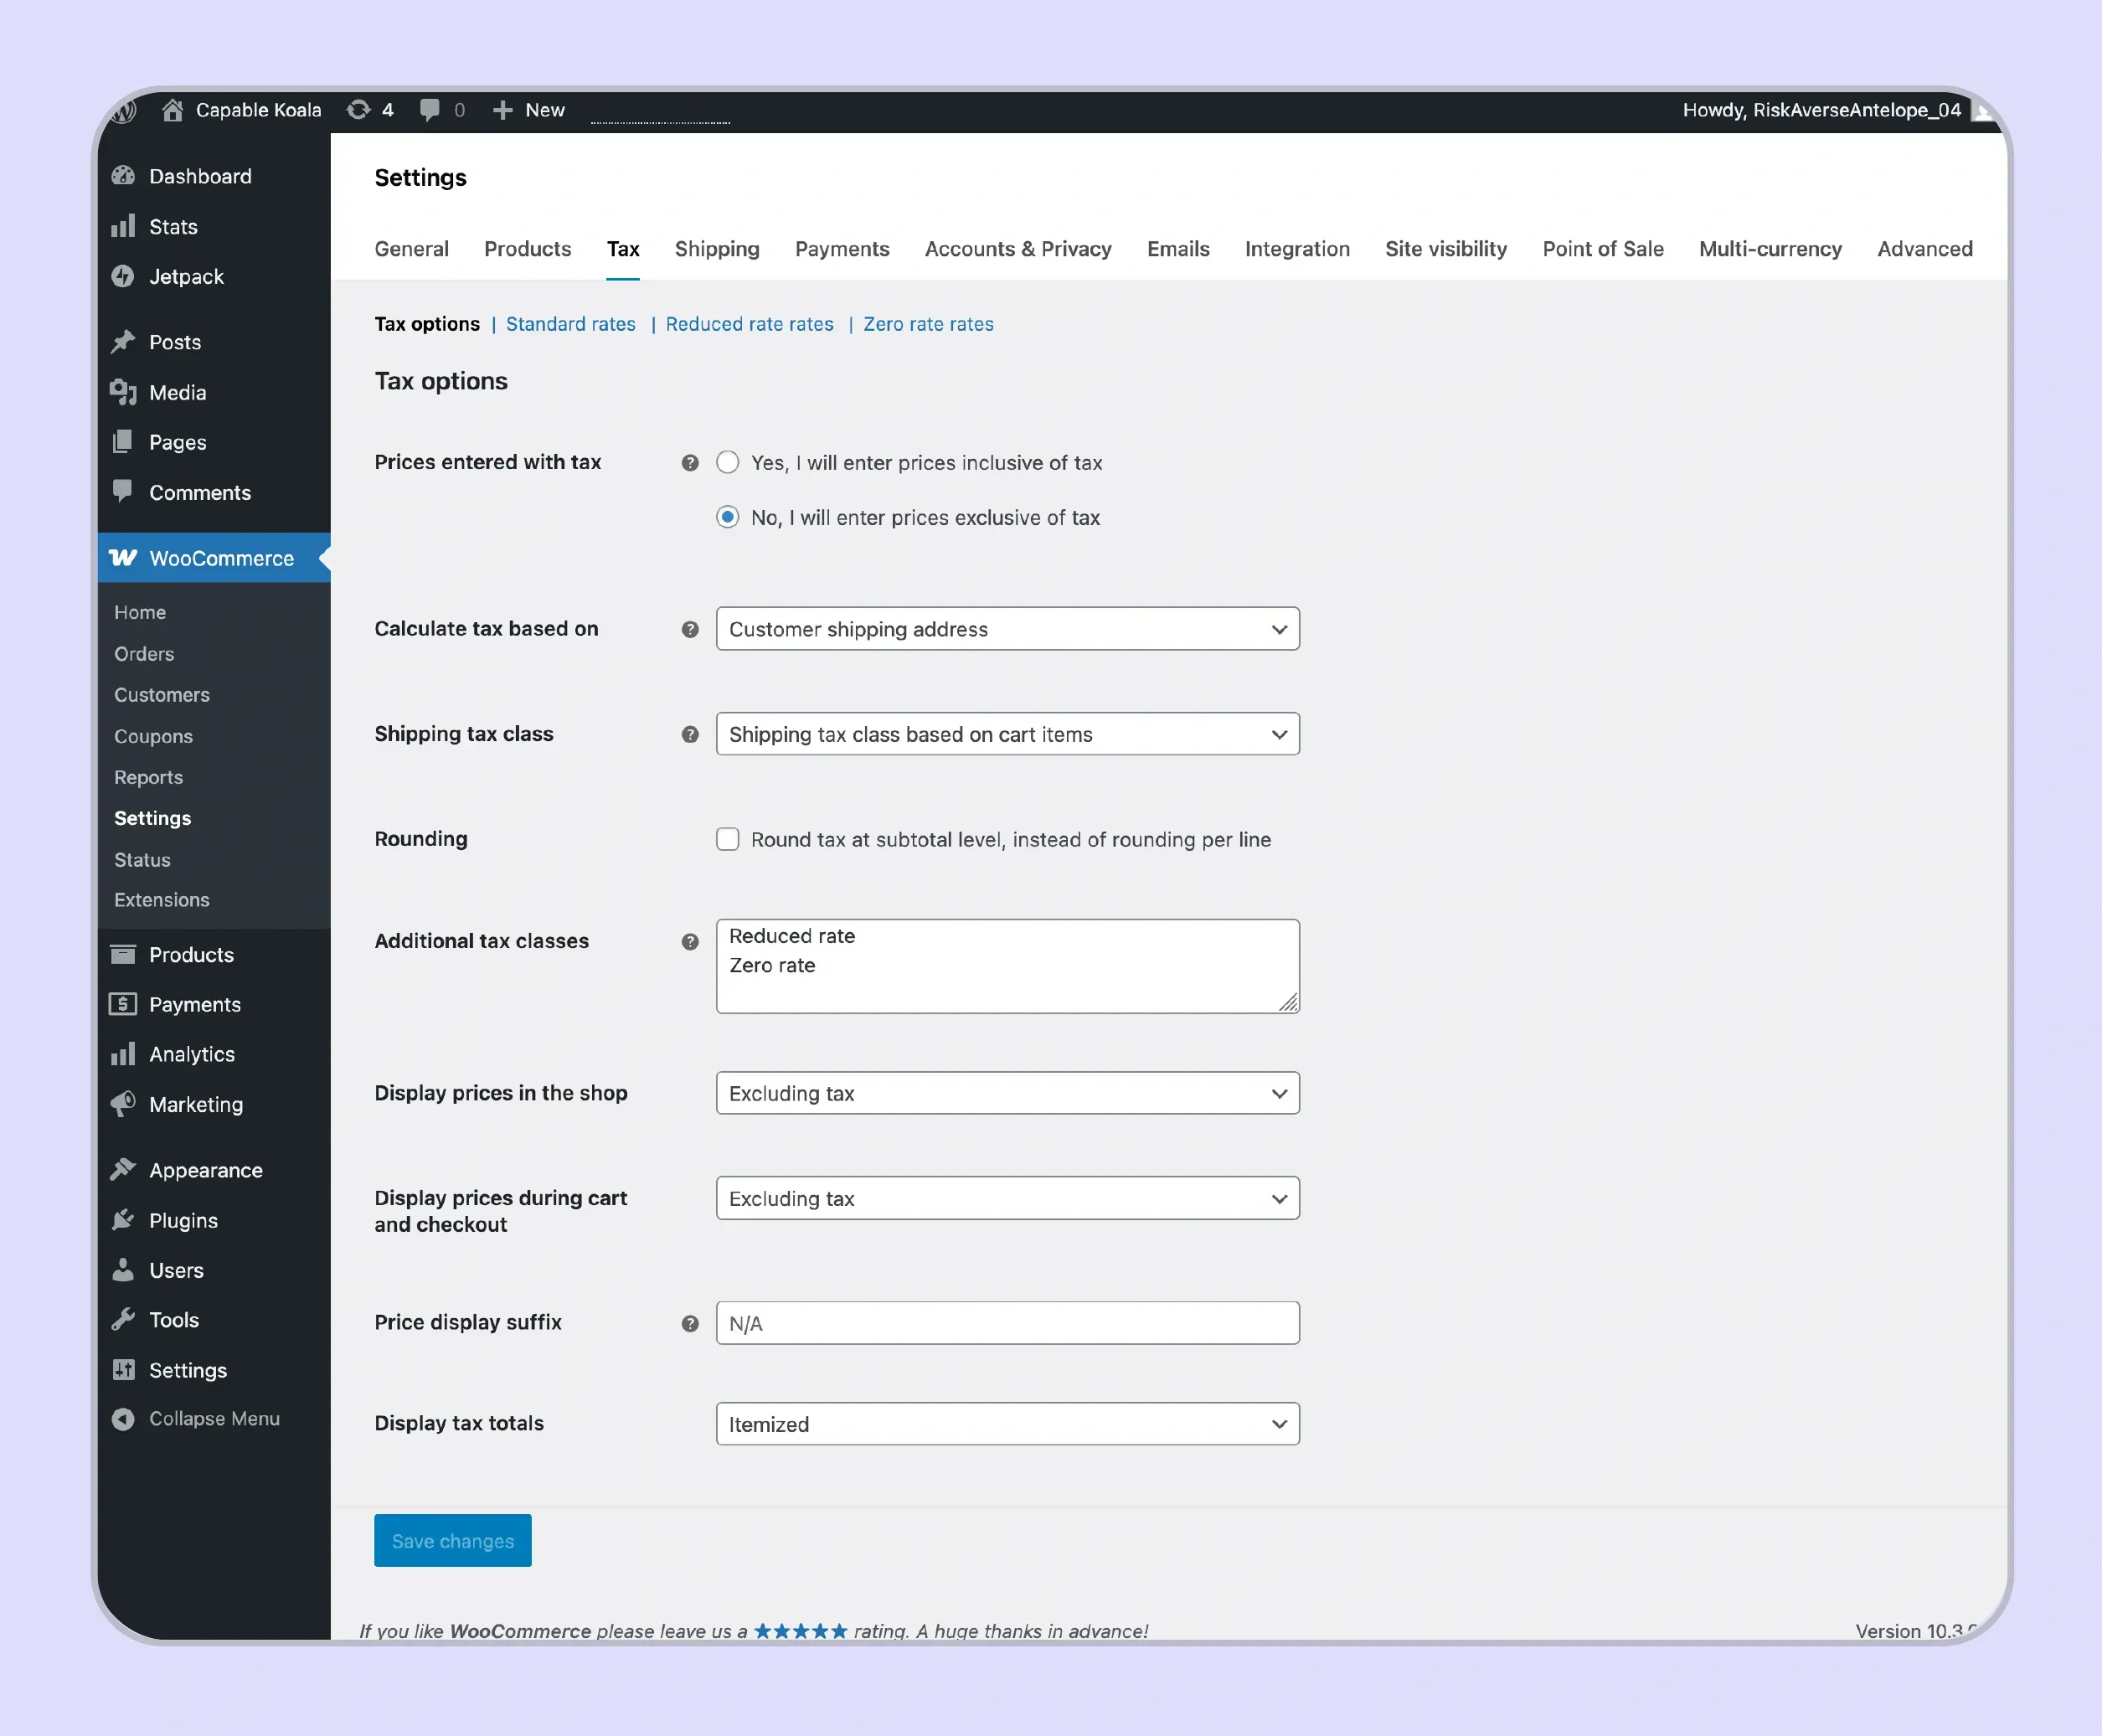
The WooCommerce tax settings panel also controls how tax totals are presented across the site. This includes whether to display prices inclusive or exclusive of tax on the shop page and whether to display tax totals as a single total or an itemized list at the bottom of the page during checkout.
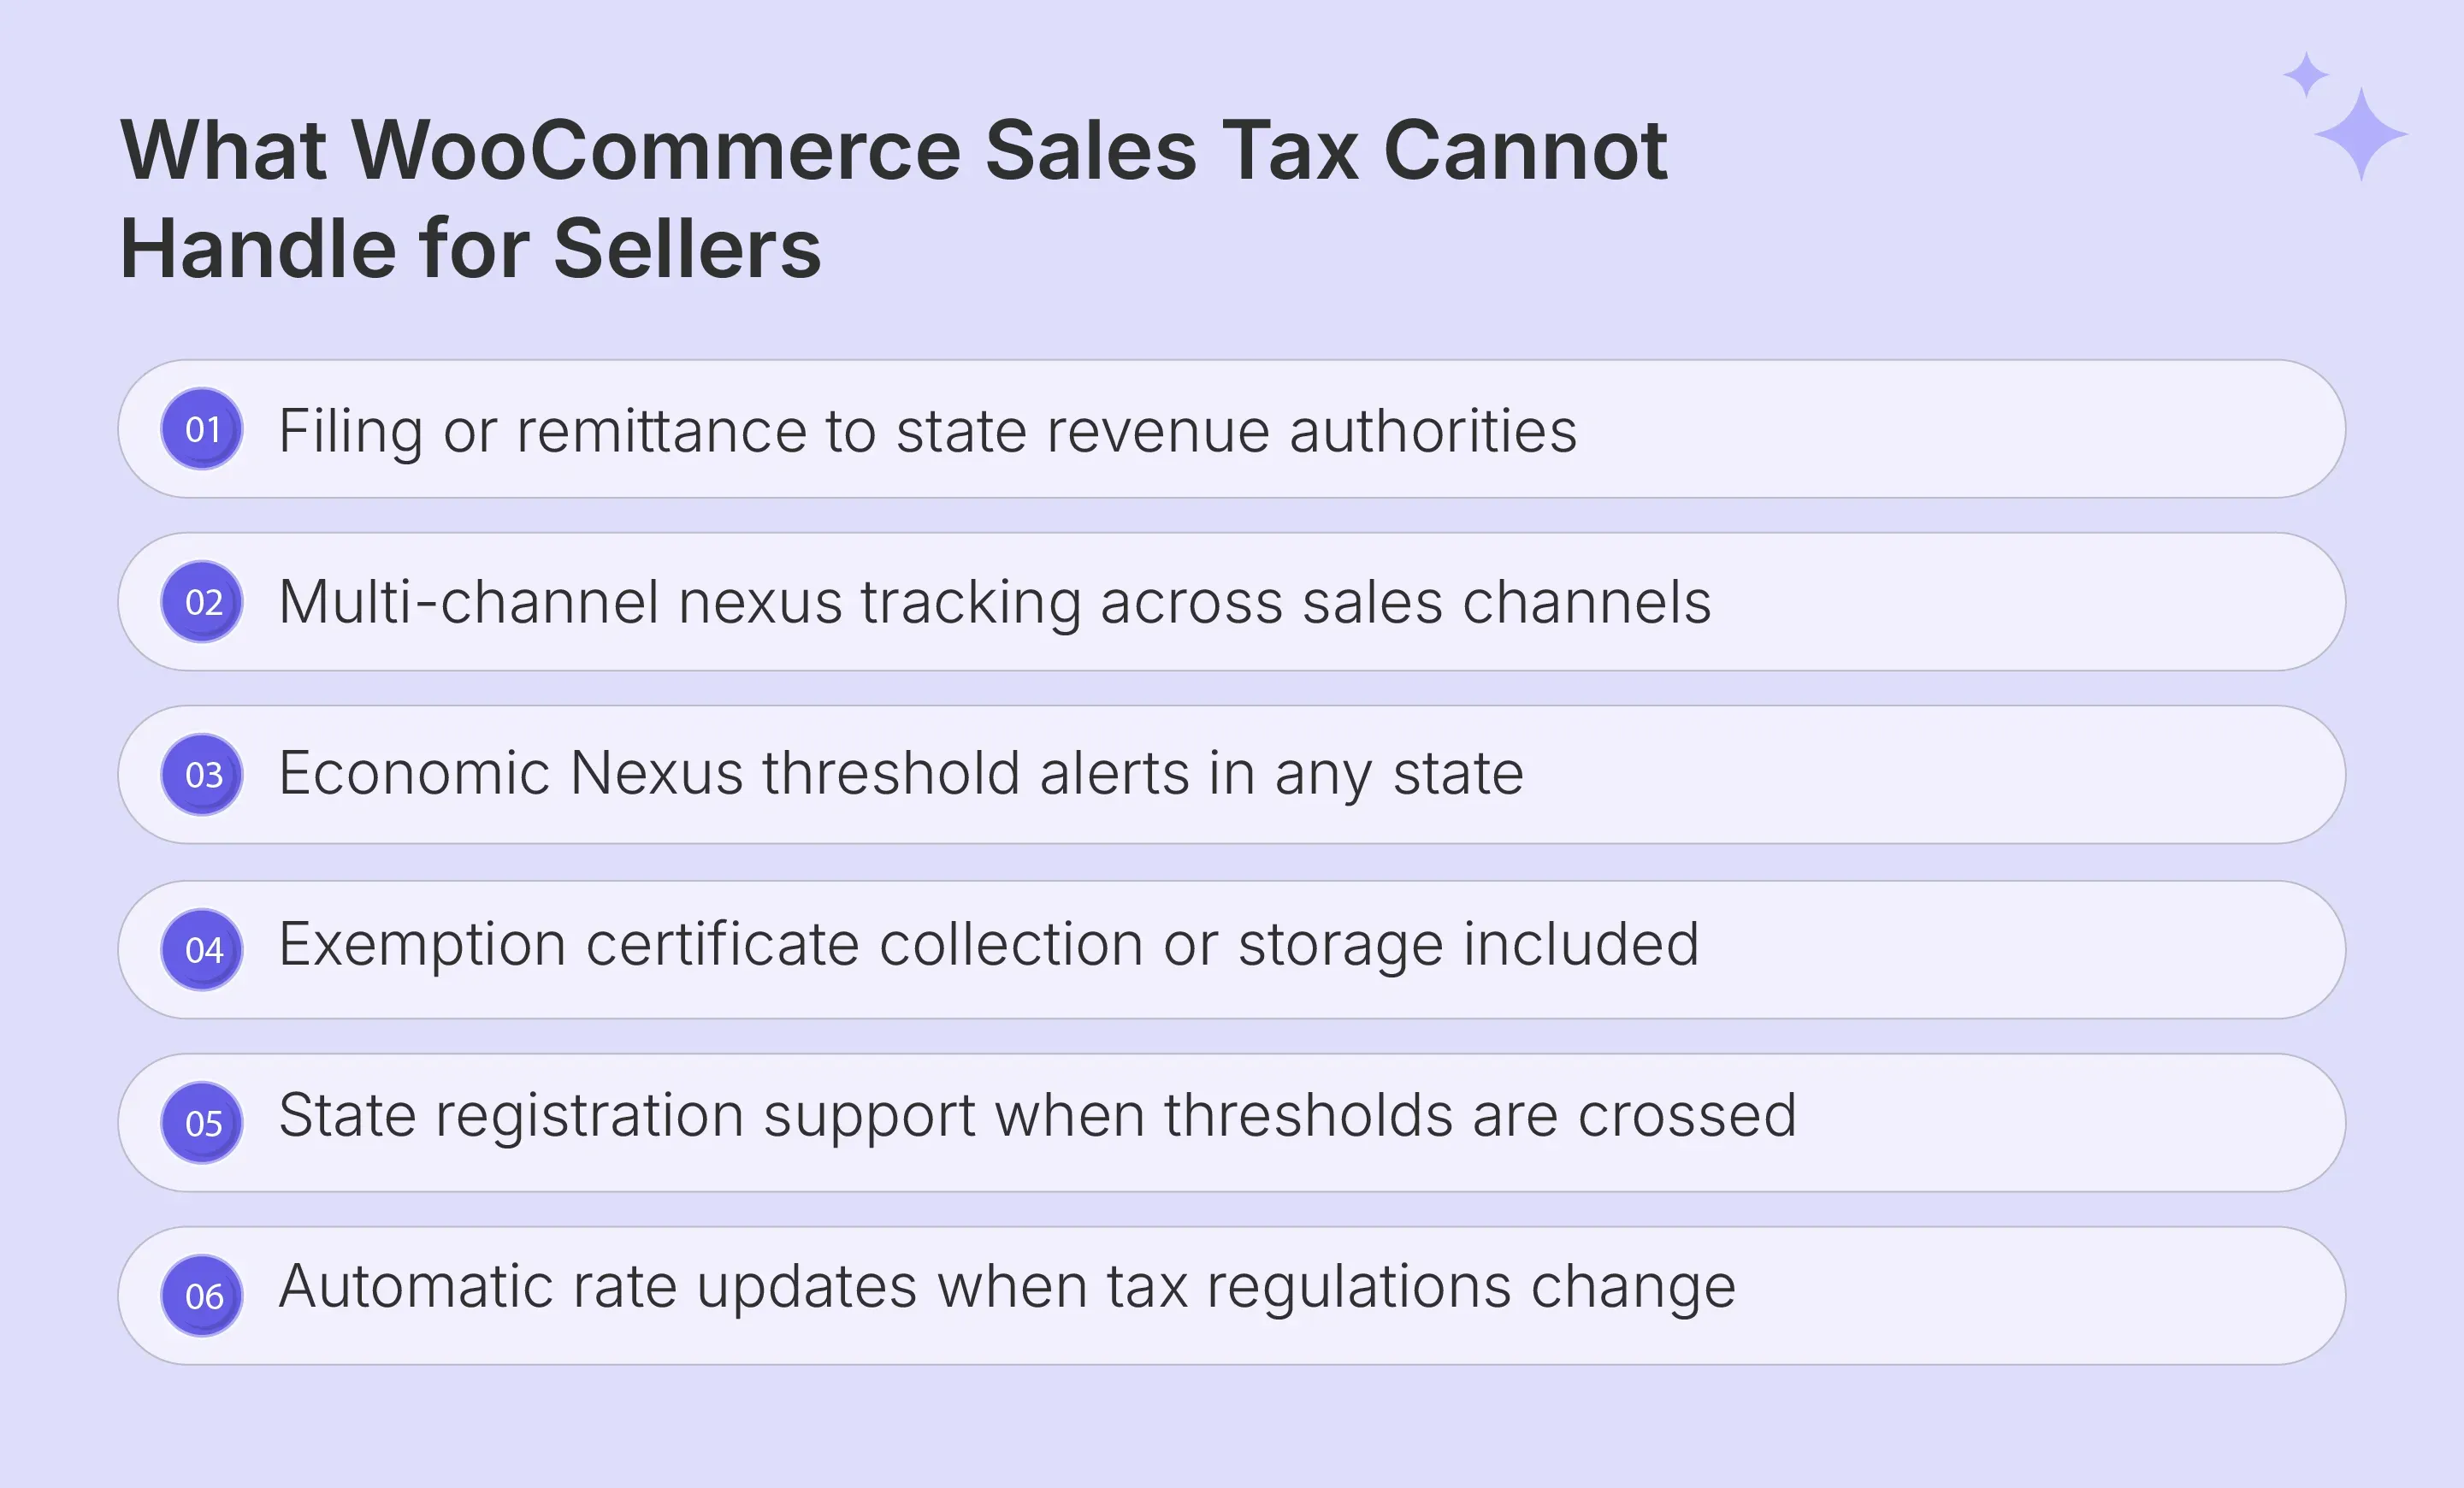
What WooCommerce Tax Cannot Do Natively
WooCommerce Tax automates rate lookup on checkout pages when properly configured. Yet three critical compliance functions remain entirely outside the WooCommerce tax plugin's scope for sellers with multi-state sales tax obligations.
- The platform does not file WooCommerce sales tax returns or remit payments to any state revenue authority on the seller's behalf.
- Economic Nexus levels are not tracked, and the system provides no alert when your online store revenue approaches a new obligation across state lines in the United States.
- Exemption certificates for resellers, nonprofits, or B2B buyers have no native collection, validation, or storage functionality within the WooCommerce store at any configuration level.
When Do WooCommerce Merchants Need to Think About Sales Tax?
WooCommerce sales tax obligations arise at specific trigger points that vary by business model and revenue volume. Identifying the right moment to act prevents the back-tax exposure and penalties that accumulate when sellers recognize the obligation too late.
The first option a store owner should address is physical presence. From the first sale, if your WooCommerce store has any physical footprint in a state through an office, warehouse, or employee, a registration and collection obligation exists from day one. Inventory stored in a state through Amazon FBA also creates a physical Nexus, regardless of your store address or where your business was incorporated.
Revenue growth is the second major trigger for growing WooCommerce site operators. When cumulative revenue into any state approaches $100,000 on a rolling 12-month basis, economic Nexus registration is triggered. Multi-channel sales from Amazon FBA, Etsy, or wholesale channels contribute to these thresholds alongside WooCommerce orders.
State notices and back-tax discoveries form the third trigger category. When a compliance gap is uncovered through a notice, a failed filing, or an audit finding, the liability for uncollected sales tax accrues retroactively from the date the Nexus obligation first existed.
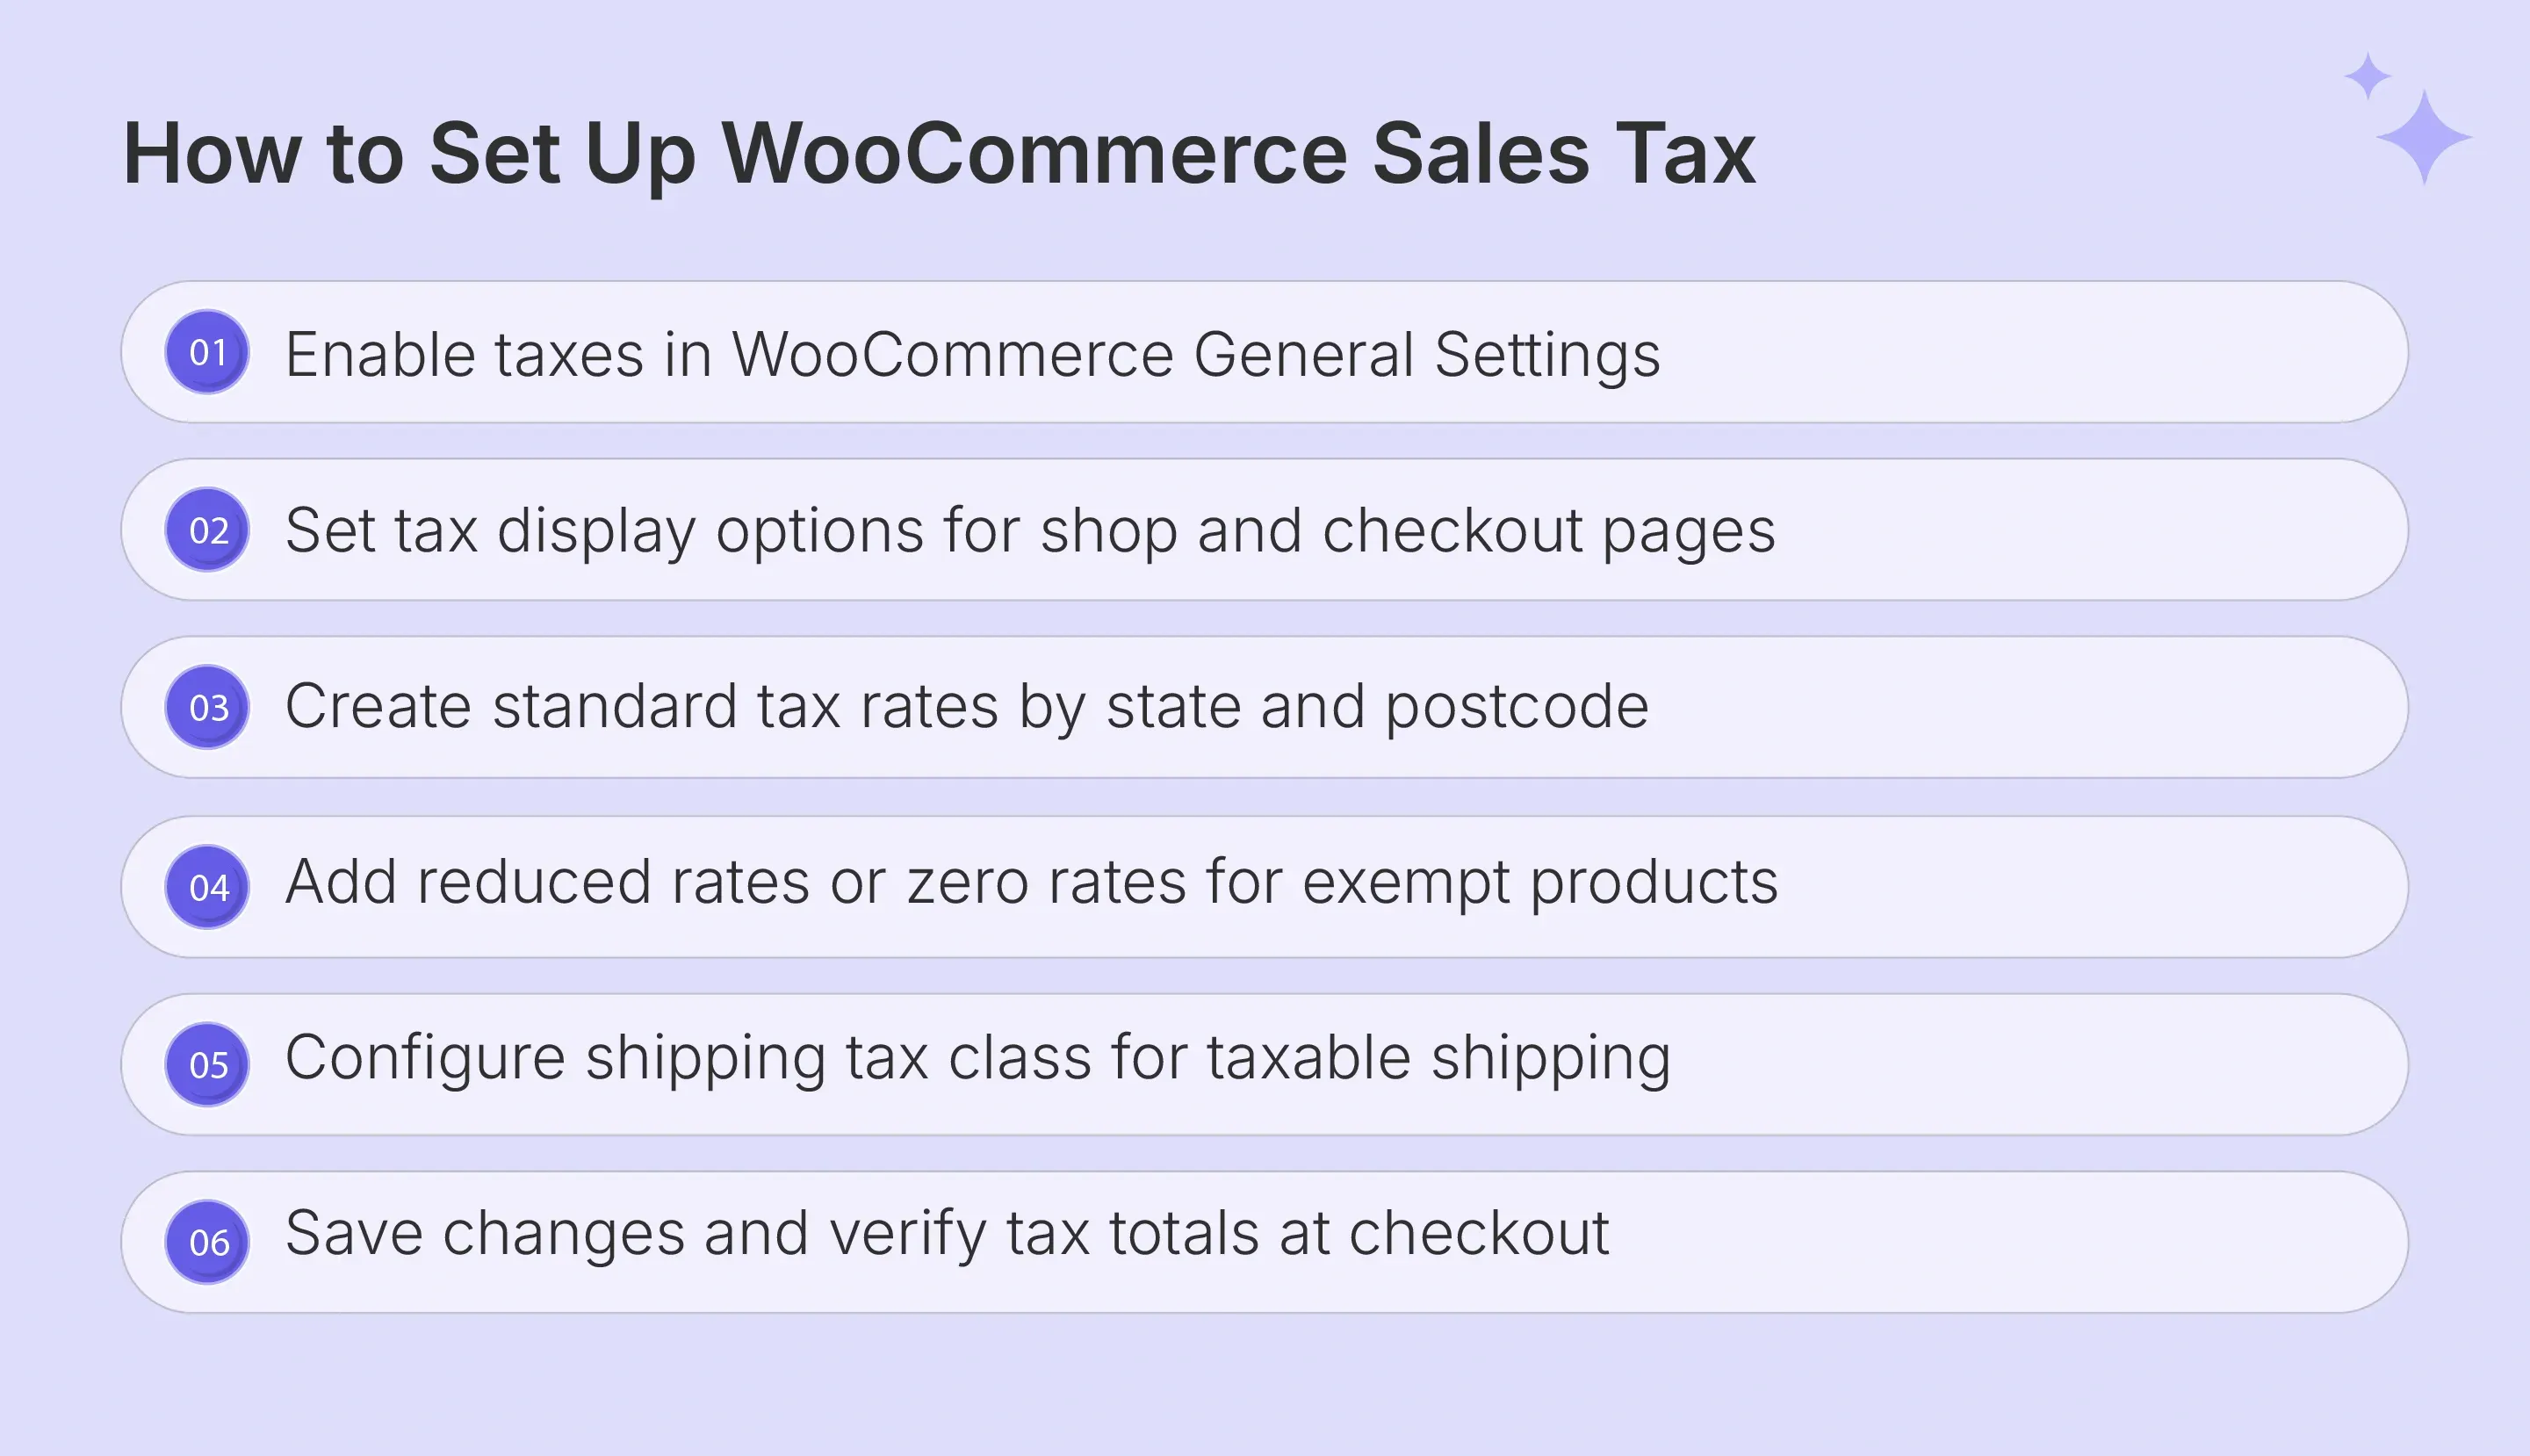
How Do You Set Up Sales Tax in WooCommerce?
Setting up WooCommerce sales tax correctly from the start prevents the calculation errors and audit exposure that arise when stores go live with incomplete tax setup. The configuration process runs entirely through the WordPress dashboard under WooCommerce Settings.
Enabling Tax Calculation in WooCommerce Settings
Activating WooCommerce sales tax calculation begins with a single checkbox in the General tab of the settings panel. Navigate to WooCommerce, then Settings, then the General tab, and check the "Enable taxes and tax calculations" option to unlock the full tax tab in the settings menu.
Once enabled, the tax tab becomes visible in the settings panel and presents the tax options your store will use for all future transactions. The first decision is whether product prices entered in the product records include or exclude state tax, as this affects every display prices output across the shop, cart items, and checkout pages throughout the store.
Configuring Tax Rates Manually or With a Plugin
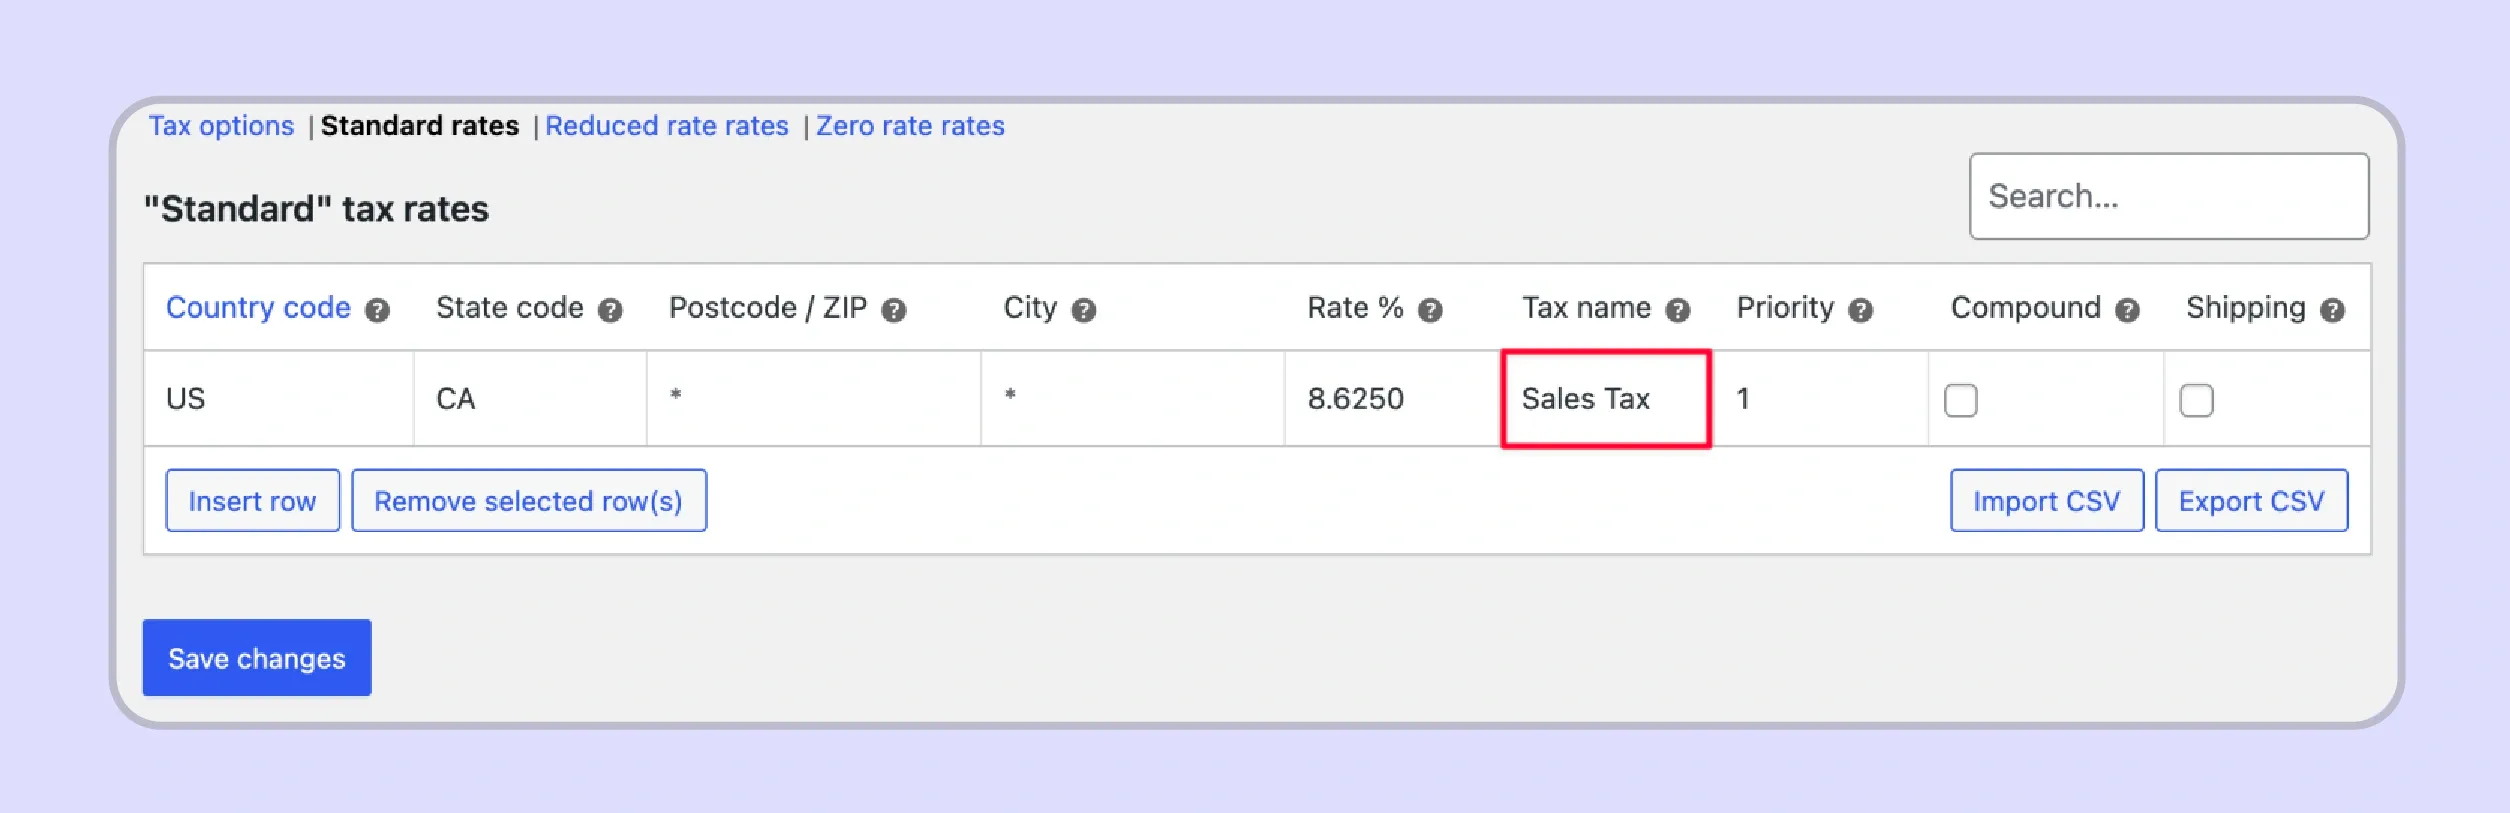
With the tax tab active, the standard rates section is where individual different tax rates are created for each jurisdiction where your store has a Nexus obligation. Click insert row to add a first-rate entry, then complete the tax name, state code, postcode, city, and rate percentage fields for each jurisdiction.
The additional tax classes section in the tax tab allows you to create a reduced tax class. This is useful for items like groceries or baby clothes that carry a reduced rate in some states, and a zero rate class for fully exempt products. The shipping tax class determines whether shipping charges are taxable, which varies by state and affects the cost of shipping calculation on every order.
Displaying Tax Totals on Cart and Checkout Pages
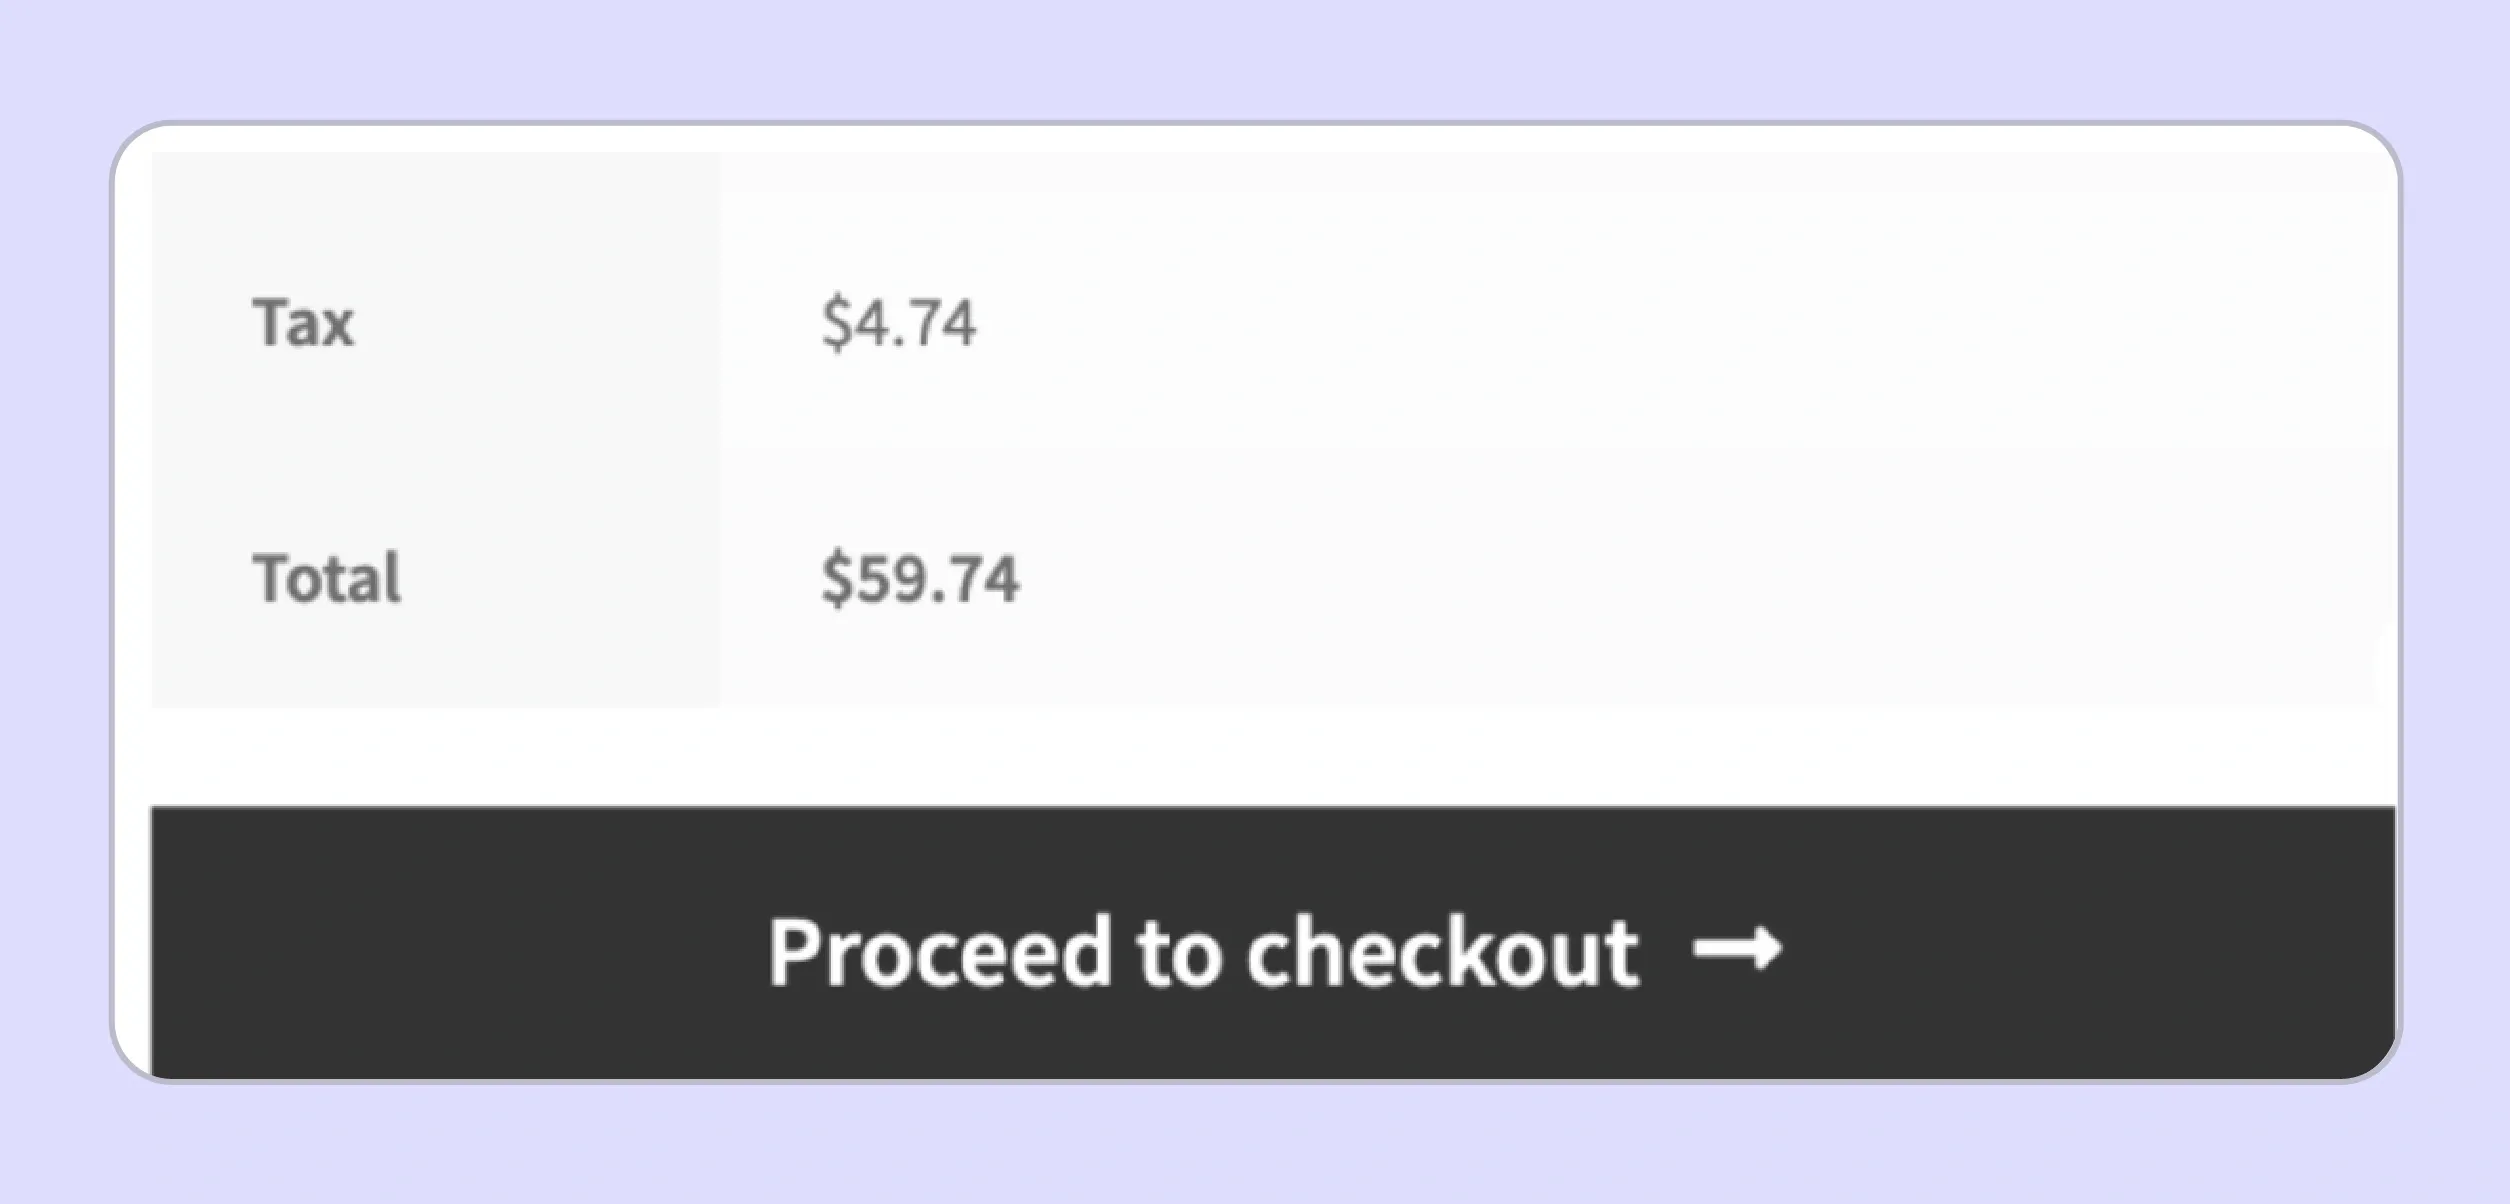
WooCommerce lets store owners choose whether to display tax totals as a single total or itemized list. These settings affect how buyers see tax details on cart and checkout pages. They also influence how teams review customer-facing tax amounts.
Display choices do not replace compliance review. Finance teams still need accurate rates, valid registration, and correct product taxability. A clean checkout display helps buyers, while a compliance platform handles what happens after the order is placed.
Where WooCommerce Sales Tax Compliance Falls Short
WooCommerce sales tax support works at checkout, while compliance continues after the order. Growing sellers need filing ownership, Nexus visibility, certificate controls, and state-notice support across all active sales channels.
No Filing, Remittance, or Return Preparation
WooCommerce sales tax stops at calculation. The platform can show a taxes report inside the WordPress dashboard, with tax amounts collected during a selected period. However, it does not file returns, remit payments, or submit data to any state revenue authority.
A seller filing in 10 states must log into each state portal every period. The team must read the state’s return fields, match the taxes report to that format, and submit payment. For a WooCommerce store in 10 states, this can take 3 to 5 hours per month before discrepancies or notices.
No Multi-Channel Nexus Tracking
WooCommerce sales tax tracking covers transactions processed through the WooCommerce site only. Revenue from Amazon FBA, Etsy, or wholesale channels stays outside the platform’s tax details reporting. This creates gaps when sales into different states count toward economic nexus thresholds.
Sellers must compare multi-channel revenue against each state’s Nexus threshold on their own. Missing a threshold because of tax-status blind spots can create back-tax exposure. The business may owe uncollected state tax from the original trigger date, along with penalties and interest.
Exemption Certificate Management Gap
WooCommerce does not provide a structured way to collect, verify, or store exemption certificates from tax-exempt buyers. A customer can be marked exempt in tax details, yet the certificate itself must be managed outside the system. This creates risk for B2B sellers.
Missing or invalid certificates are common audit issues for sellers in the United States and United Kingdom. If a state requests proof for a tax-exempt sale and no certificate is available, the seller may owe the full sales tax liability plus penalties. Native WooCommerce tax tools do not close this gap without a separate certificate management system.
WooCommerce Sales Tax Best Practices for Growing Sellers
Following WooCommerce sales tax best practices from the start prevents the compliance debt that accumulates when stores scale without a structured approach to their sales tax obligations across state lines.
- Installing a verified WooCommerce tax plugin before your first multi-state transaction ensures accurate sales tax rates from the start.
- Confirming your chosen plugin supports rooftop-level sales tax calculations, covers local district variations that affect the highest tax rate in complex jurisdictions.
- Verifying that your provider monitors Nexus across all your channels closes the sales tax exposure gap that multi-channel sellers face when relying on a single-platform view.
- Registering with each state's revenue authority and obtaining a valid permit before collecting state tax from customers in that jurisdiction prevents retroactive penalty exposure.
- Using a managed service like Galvix for WooCommerce sales tax state registrations means your team does not need to manage credential renewals across different states independently.

Why WooCommerce Sellers Choose Galvix for Sales Tax Compliance?
Most third-party WooCommerce sales tax plugins solve the calculation on checkout pages and stop there. Filing, Nexus monitoring, state registrations, exemption certificate management, and notice handling remain with the seller. For stores filing in five or more states, that workload creates monthly compliance pressure.
Galvix removes this burden by acting as a dedicated compliance team for your WooCommerce store. It connects with your WooCommerce site, monitors Nexus across channels, and prepares every return for review before filing. Your tax requirements move from internal task lists to a named specialist.
Here is what our sales tax software handles that standard WooCommerce tax integrations do not:
- Rooftop-Level Tax Calculation: Galvix calculates tax on every WooCommerce order without manual rate entry. Your team avoids ongoing product tax status maintenance as tax regulations change across different states.
- Multi-Channel Nexus Monitoring: We monitor Nexus across your WooCommerce site and active channels. Alerts at 75%, 85%, and 95% help you act before a WooCommerce sales tax obligation begins.
- Done-for-You State Registrations: Our platform manages portal work, credentials, and permit maintenance for a flat per-state fee. Your team can focus on the online store instead of compliance administration.
- Expert-Prepared Returns: A named specialist reviews every return before filing. Galvix reconciles WooCommerce transaction data and tax amounts before any return reaches a state authority.
- State Correspondence Management: Galvix handles notices, audit inquiries, and filing frequency changes directly. Your WooCommerce store receives dashboard updates instead of state letters needing internal response.
Galvix offers a 30-day free trial with no credit card required. Schedule a personalized demo to see what fully managed WooCommerce sales tax compliance looks like for your specific store and channel mix.
Frequently Asked Questions
Does WooCommerce Pay Sales Tax on Behalf of Sellers?
WooCommerce sales tax applies rates at checkout, but it does not file, remit, or pay sales tax for sellers. Every return must still be submitted through the correct state portal. Store owners also remain responsible for deadlines and payments. This is where Galvix integration with WooCommerce helps by managing filings and remittance across registered states.
How Do I Add Sales Tax on WooCommerce?
Open the WordPress dashboard, go to WooCommerce Settings, and check enable taxes in General. Then open the tax tab and configure standard rates by state code and rate percentage. Use insert row for each jurisdiction. If this setup becomes hard to maintain, Galvix can manage the compliance work after checkout
Is It Better to Use WooCommerce or Shopify for Sales Tax?
WooCommerce sales tax and Shopify Tax both support checkout calculations through native tools or connected plugins. Neither platform manages filing, Nexus monitoring, or state registrations as a native workflow. The better platform depends on store needs, cost, and flexibility. Galvix works alongside either platform when multi-state compliance becomes difficult to manage.
How to Use WooCommerce With Taxes for Multi-State Selling?
Enable WooCommerce tax settings, connect a WooCommerce tax extension, and assign the correct tax class to each product. Register in every state where Nexus exists before collecting state tax. Multi-state sellers also need to track obligations across different states. Galvix supports this stage by managing filings, Nexus tracking, and state correspondence.